


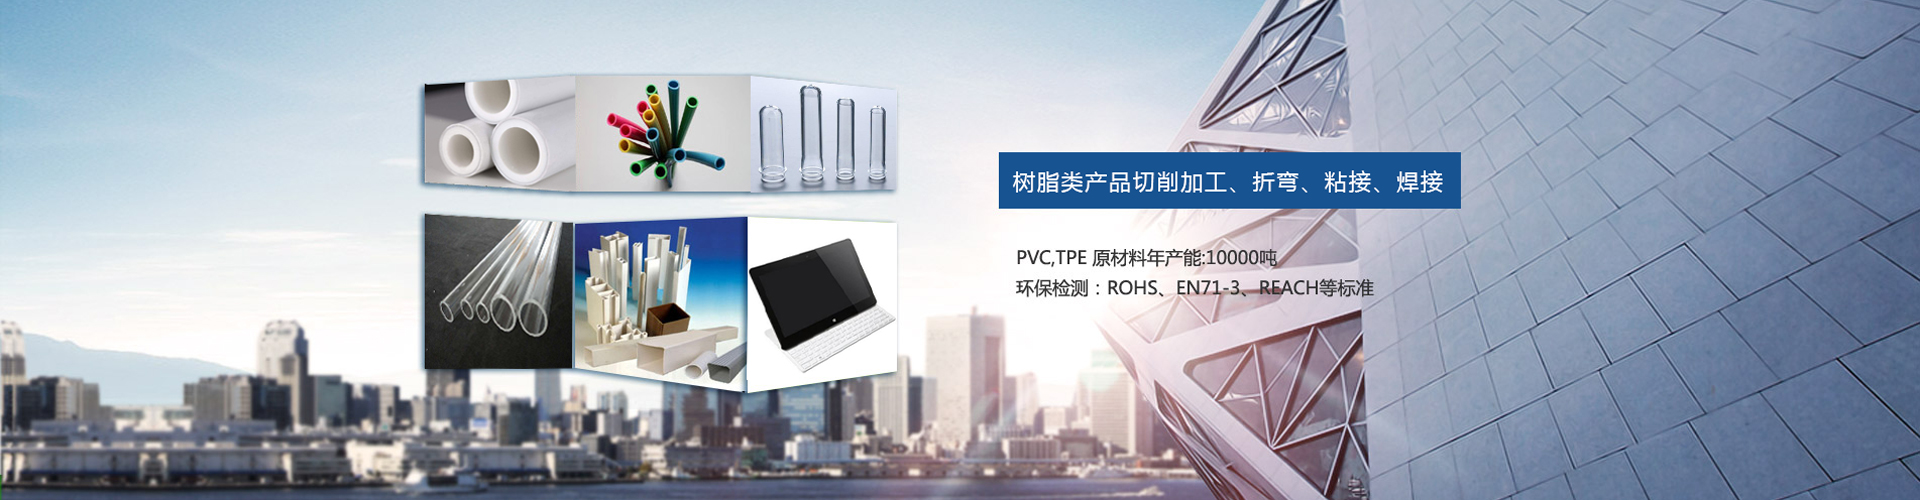

Today to introduce to you: the adhesive and processing method of the resin material
A resin blanking
1. Resin specifications: Length size: 700mm,750mm or 1000mm
Width size: 400mm,450mm or 500mm
Thickness: 25mm to 150mm, with 5mm as a specification. According to the ease of processing and practicality of the resin, the thickness is usually specified in 3 kinds: 50mm,75mm, and 100mm
2. Cutting specifications are shown in the figure below:
3. Resin cutting equipment:
Cutting resin is generally used in horizontal milling machine clamping saw blade cutting; Or cut it off with a saw. After cutting off, the resin bonding surface should be smooth and burr free.
Two resin material bonding and fixation
Resin (BM5166)
1. The adhesive surface of the sheet material shall be cleaned and dried with acetone first
2. Mix the adhesive AW106/HY953U(1:0.8) and mix the glue evenly.
(Araldite adhesive is a mixture of two substances, namely AW106 and HV953U epoxy resin, purchased as a set)
3. Accurately mark the material position according to the relative position of the gage material in the drawing (position tolerance ±2mm).
4. Apply with a scraper, thin and uniform, and brush the adhesive surface. Push and grind repeatedly to ensure that the contact surface is all hanging glue, to facilitate better bonding of materials, from deployment to completion of the operation control within 45 minutes.
5. Small inspection tools can be pressed with heavy objects to promote the contact between the two sides of the material. Large inspection tools (over 500mm in length) need to be clamped with clamps, and the clamping time is more than 5 hours to prevent mismovement and deformation.
Note: When the replacement wood material and aluminum alloy (overcast bottom plate) are bonded, it is necessary to add screws for locking. The specific steps are as follows: drilling holes on the replacement wood → embedding the inner thread sleeve → drilling step holes on the bottom surface of aluminum alloy → gluing (fixed with M8 hex socket screws) → turning over, processing the fixing pin holes and installing the fixing pins.
Three resin material processing method
Resin processing are generally CNC processing, for no negative Angle resin body, three axis CNC milling machine and machining center can meet the processing requirements; For the resin body with negative Angle, it can be completed with a four-axis or 5-axis machining center, and can also be completed with a three-axis machining center for multiple clamping (in general, it is widely used to lift the whole owner model module processing).
Processing steps:
1. Check: before CNC processing, check whether the resin bonding is firm, and confirm whether the relative position of the two replacement wood is correct;
2. Selection of processing datum: the processing datum on the base plate of the instrument is used as the processing datum of the resin material (red surface below);
3. Rough machining: non-functional surface milling in place once, functional surface milling in general reserved processing allowance of 0.5mm-1mm;
4 finishing: each clamping must have a tool reference, and accurate alignment (0.02mm). For lettering and line engraving, the depth of line engraving is required to be 0.1mm and the width below 0.5mm:
Note: The resin processing drawing is only used as the interpretation of the machining accuracy of the profile, not as the basis for QC inspection and machining accuracy.